[:en]
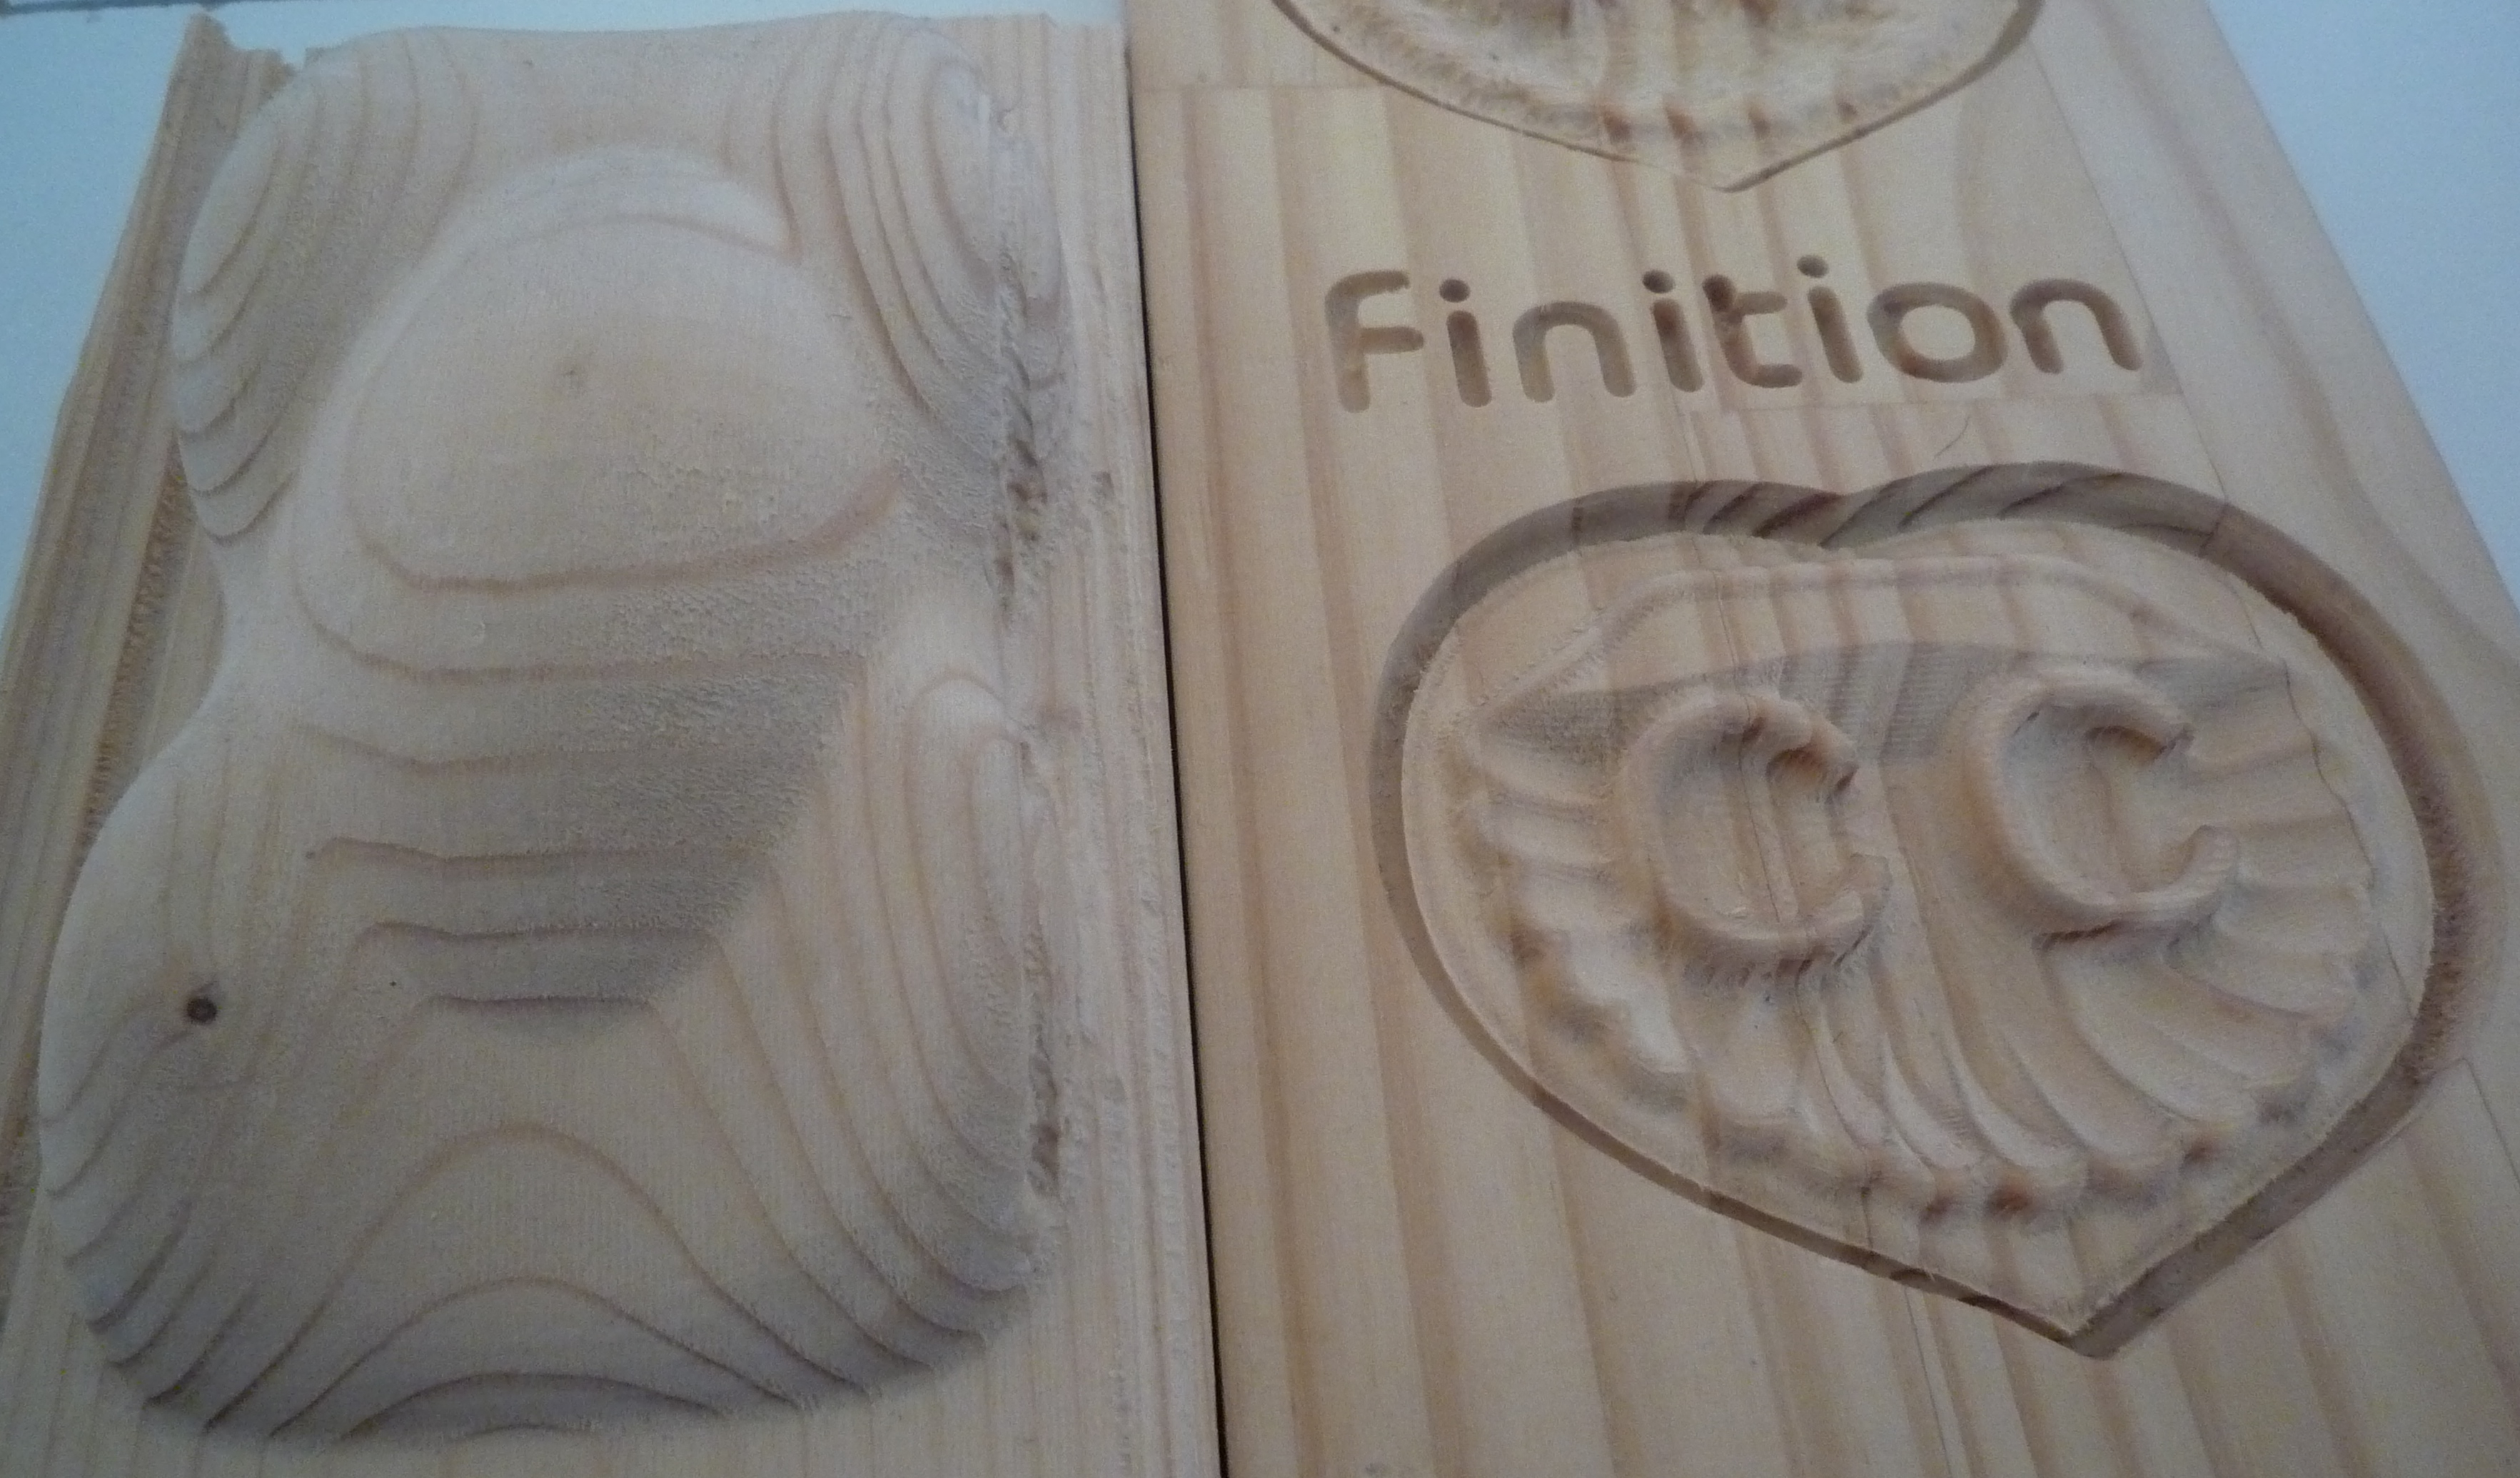
The tools
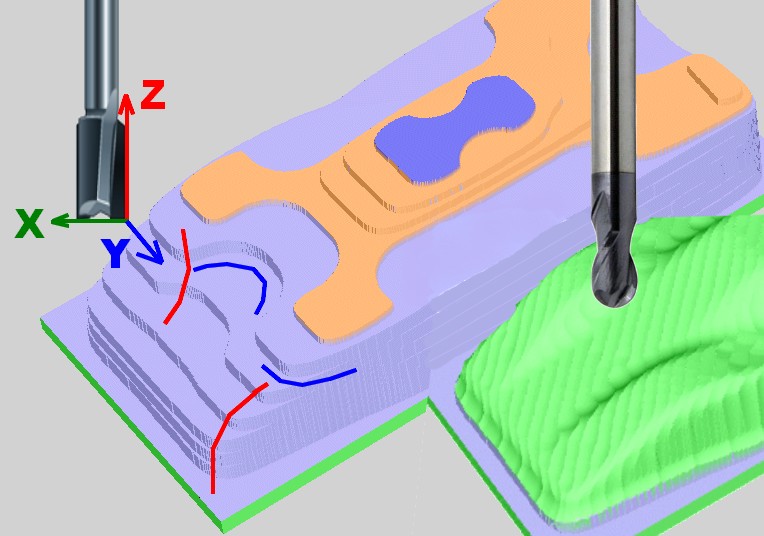
It is impossible to use a cylindrical cutter (milling cutter have flat end) for 3d machining.
The cutter can not create concave and convex surface toward the Z axis (ZX plane and ZY), the result of stair steps to places of curves.
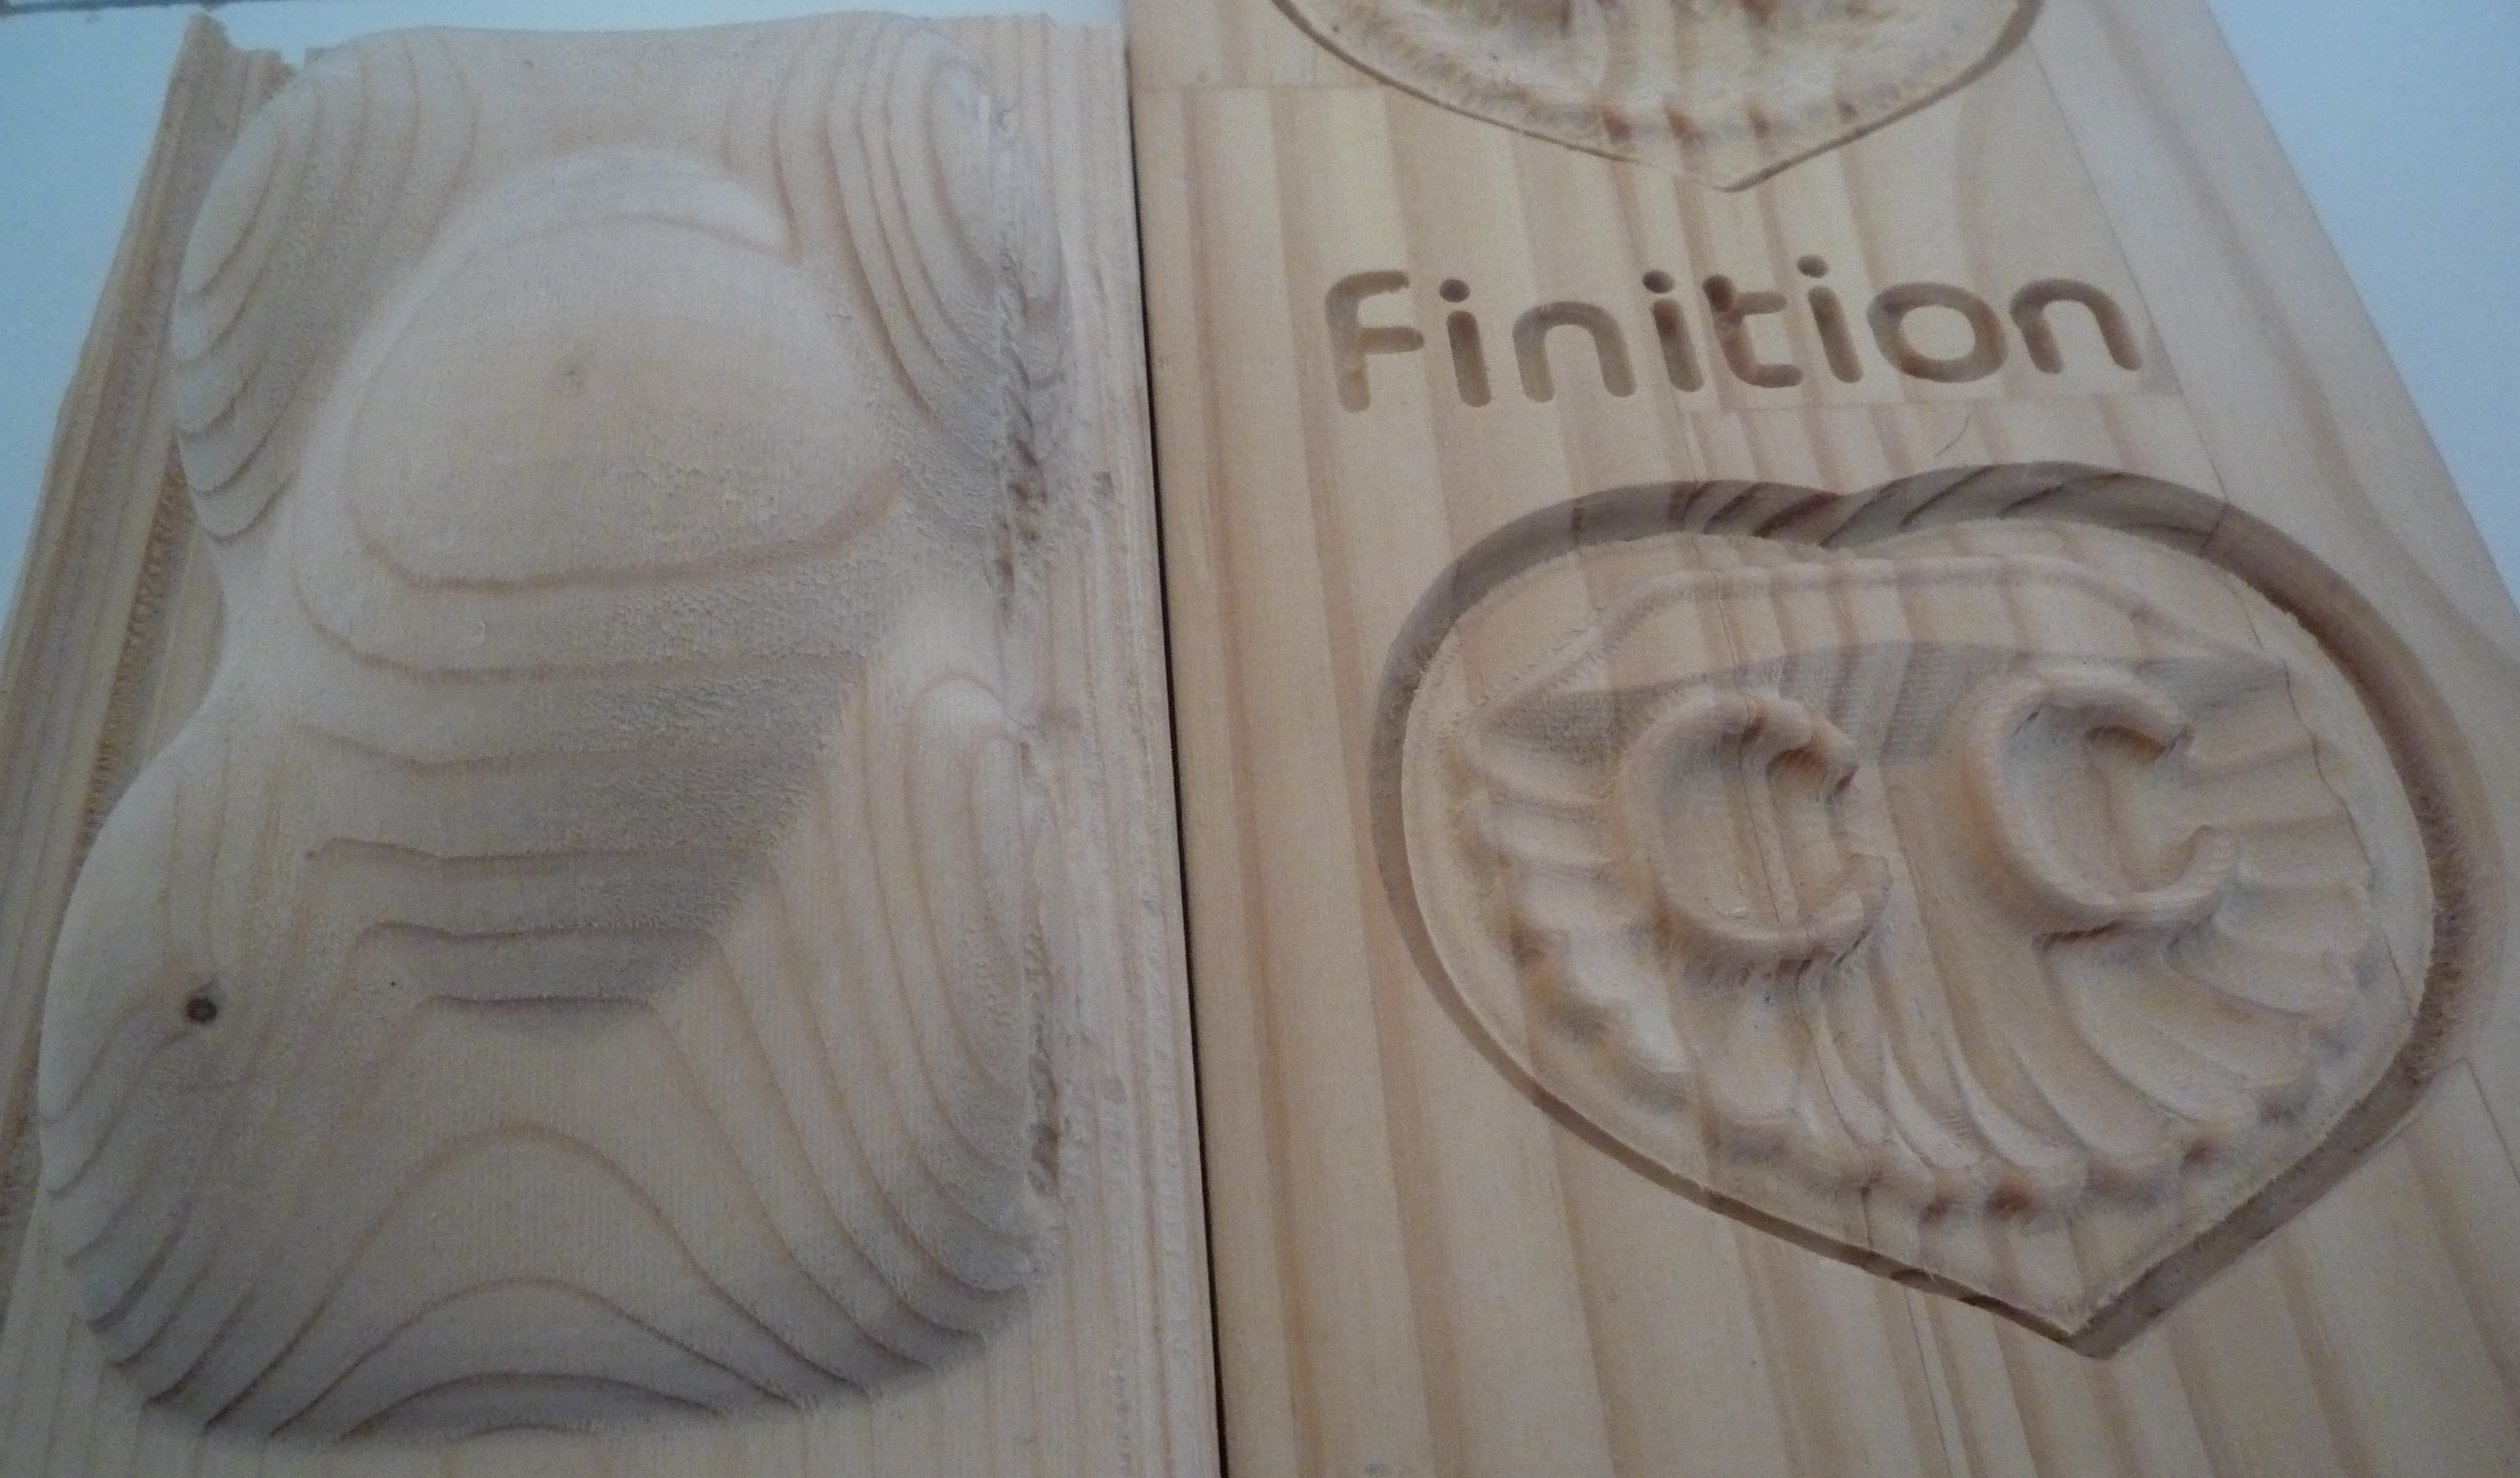
The ball cutter create small waves at first, but those will disappear during the finishing phase.
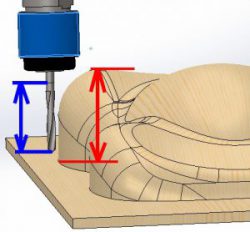
Warning : make sure that your tool is long enough to machine your 3D object to the bottom.
Your 3D object should not have forms with a negative rake angle if your CNC milling machine is a milling machine 3 axis.
Introduction a l’usinage 3d
What need to know :
- 3d sculpture is much longer than the 2D machining but have tips to reduce the total machining time.
- A special tool with a rounded shape at the end is required.
- All software for creating gcode CNC machining do not support 3Dmachining
- To prepare your machine you need for like for 3D printing have STL format file
- No it is not necessary to make a post treatment after machining, no need to sand after you have properly set up your machine with a finishing phase.

The tools
It is impossible to use a cylindrical cutter (milling cutter have flat end) for 3d machining.
The cutter can not create concave and convex surface toward the Z axis (ZX plane and ZY), the result of stair steps to places of curves.
The ball cutter create small waves at first, but those will disappear during the finishing phase.

Warning : make sure that your tool is long enough to machine your 3D object to the bottom.
Your 3D object should not have forms with a negative rake angle if your CNC milling machine is a milling machine 3 axis.
Introduction a l’usinage 3d

What need to know :
- 3d sculpture is much longer than the 2D machining but have tips to reduce the total machining time.
- A special tool with a rounded shape at the end is required.
- All software for creating gcode CNC machining do not support 3Dmachining
- To prepare your machine you need for like for 3D printing have STL format file
- No it is not necessary to make a post treatment after machining, no need to sand after you have properly set up your machine with a finishing phase.

0 commentaires

Les outils
Il est impossible d’utiliser une fraise cylindrique (fraise plate a son extrémité ) pour de l’usinage 3d.
Cette fraise ne peut pas créer des surface concaves et convexes en direction de l’axe Z ( plan ZX et ZY), il en résulte des marches d’escalier aux lieux de courbes.
La fraise hémisphérique créer des petites vagues au départ mais celles ci disparaissent lors de la phase de finition.

Attention : vérifiez bien que votre outil est suffisamment long pour usiner votre objet 3d jusqu’au fond.
Votre objet 3d ne devra pas avoir de formes avec un angle de dépouille négatif si votre fraiseuse CNC est une fraiseuse 3 axes.
Introduction a l’usinage 3d

Ce qu’il faut savoir :
- La sculpture 3d est beaucoup plus longue que l’usinage 2D mais des astuces permettent de réduire le temps total d’usinage.
- Un outil particulier avec une forme arrondis au bout est nécessaire.
- Tous les logiciels créant du Gcode pour des CNC ne gèrent pas l’usinage 3D
- Pour préparer votre usinage vous avez besoin comme pour l’impression 3D d’un fichier STL
- Non il n’est pas nécessaire de faire un post traitement après l’usinage, pas besoin de poncer après si vous avez correctement paramétré votre usinage avec une phase de finition.
Concernant le dernier point, j’ai été surpris lors des salons ou je présentais mes machines, du nombre de visiteurs qui me posaient cette question, c’est parce qu’ils connaissaient seulement les machines a reproduire les objets en 3D manuels qui n’ont pas une très bonne finition.
En fait ces personnes me parlaient de cette machine, qui peut copier un objet 3D mais pas en créer un nouveau a partir d’un modèle numérique comme tout est manuel.
Les déplacements étant manuels, la précision n’est pas très élevé et un ponçage après usinage est nécessaire.

0 commentaires